Hello Peeps!
♡\( ̄▽ ̄)/♡
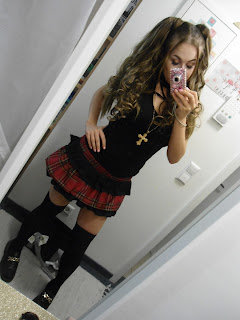
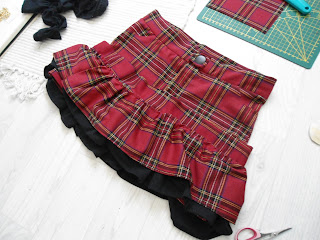
Are you ready for a new diy project? I was too impatient to wait for my Mercari order.So I started a DIY project. It´s a skirt, inspired by Tralala and Liz Lisa doll.
Here are my inspo :
I don't want to copy the brand, so it's like I say a inspo!
(pls no rude comments about copying... )
I have to be fair, this is no beginner tutorial.Even I had my difficulties. And I would say that I already count as "Advanced". So you can definitely see that it was made by a hobby seamstress. It would certainly have been easier with an overlock sewing machine.
But now it is the way it is. So if you are interested in how I made this skirt, you are welcome to take a close look at this post.
And this is where it starts. I was in my town and strolled through the shops.When I discovered these cool pants. And it only cost €3.99!
It was immediately clear to me: I'm going to make a skirt with safetypants out of it.It sucks, that we don't have trousers integrated into our skirts (at least that's how it is in Germany, unless you buy a "skort") you just don't feel safe.
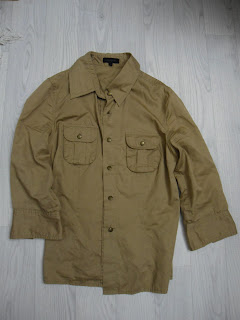
In order to have a little more fabric, I bought an XXXL men's shirt for 1.99€. You can see how small my hand is :(´◦ω◦`):
Now let's get to the instructions.
You will need:
- A master plan
(how your skirt will look. If you can think about it, you can make it happen.)
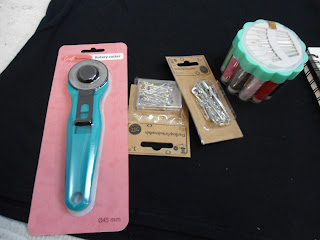
- Scissors and/or Rollcutter
-pins and needles
- matching color threads
- a sewing machine cam handy
- seam ripper
(My masterplan ... (≧▽≦) )
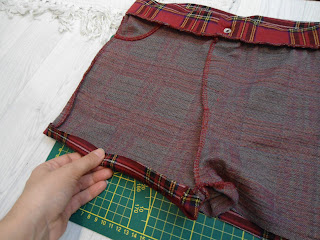
First I made shorts out of the long pants. (This forms our safety pants)
It's so simple that I don't need to explain much about it.
The best thing to do is try the pants on, decide how short you want them and cut off the legs at that point.
After that, you have shorts! congratulation.
Mark your point where to sew the skirt part on.
Seam ripp the both legs to get enough fabric for the skirt.
Make two parts (the front part and the back)
Make a tube out of it and neaten the bottom edge.
You can put that aside for now.
Because now we're going to do the hard part... the endless ruffles.
I made the first row of ruffles 8 cm wide (+ 2 cm seam allowance) So in total 10cm stripes. The length of the ruffle-stripes depends on your size and the volume you like the ruffels to be.
(I only needed two rows of stripes from the XXXL Shirt.)
Now it gets a bit more complicated to explain it in pictures....

You will need for all the ruffels:
- 2 x black rows 8cm +2cm seamallowenc = 10cm total
- 2 x black rows 13cm + 2 cm seamallowenc = 15cm total
- 2 x checkered rows 12cm + 2 cm seamallowenc = 14cm total
Stupid me... I forgot to take pictures of all the ruffles.
As I said before, this part is going to be difficult to explain.
So basically I sewed two of the three ruffle panels onto the tube we made earlier. I left the upper edge "bare".
So the layers look like this: First the shorts, then the tube skirt.
I sewed the checkered ruffles in the middle of the tube and underneath the wide strip of black ruffles.
It's important to mention that I used a zig zag stitch on everything to keep the skirt stretchy.
After I sewed the ruffles onto the "tube", I could also sew this skirt part onto the shorts.
When the skirt part is attached to the shorts, you can finish by sewing the narrower row of ruffles over the seam of our "tube skirt" to hide the edge.
And then you are finish.
Enjoy your hard work and feel good.
If you make the skirt, pls tag me on instagram ♥
@tamiko_anansi
















.gif)

